The best way to make your products look great and create a sense of value is through high-quality visual presentation. This includes having professional photos that show off every detail, but it can be hard for small store owners without access or funds like this option since they need the proper tools in order to do so themselves. Here we will learn the tips for taking product photography with white background.
When you need a spot to highlight your company or product, adding white background photography can make all the difference. It helps to highlight the essential features of the product, which will eventually help grab the attention of the viewers out there.
You can turn a mediocre product photo into something that will make people want to buy your products with just one click. All you need are some white walls and an idea of what it is they’re selling.
Read More:- Amazon Product Photography Tips To Adopt In 2022
Here are some tips to help you capture photos on a white background:
Required Peripherals
It will not be possible for you to turn a product, idea, or anything into something noticeable without having the right peripherals. Make sure you have these peripherals before you start another photoshoot
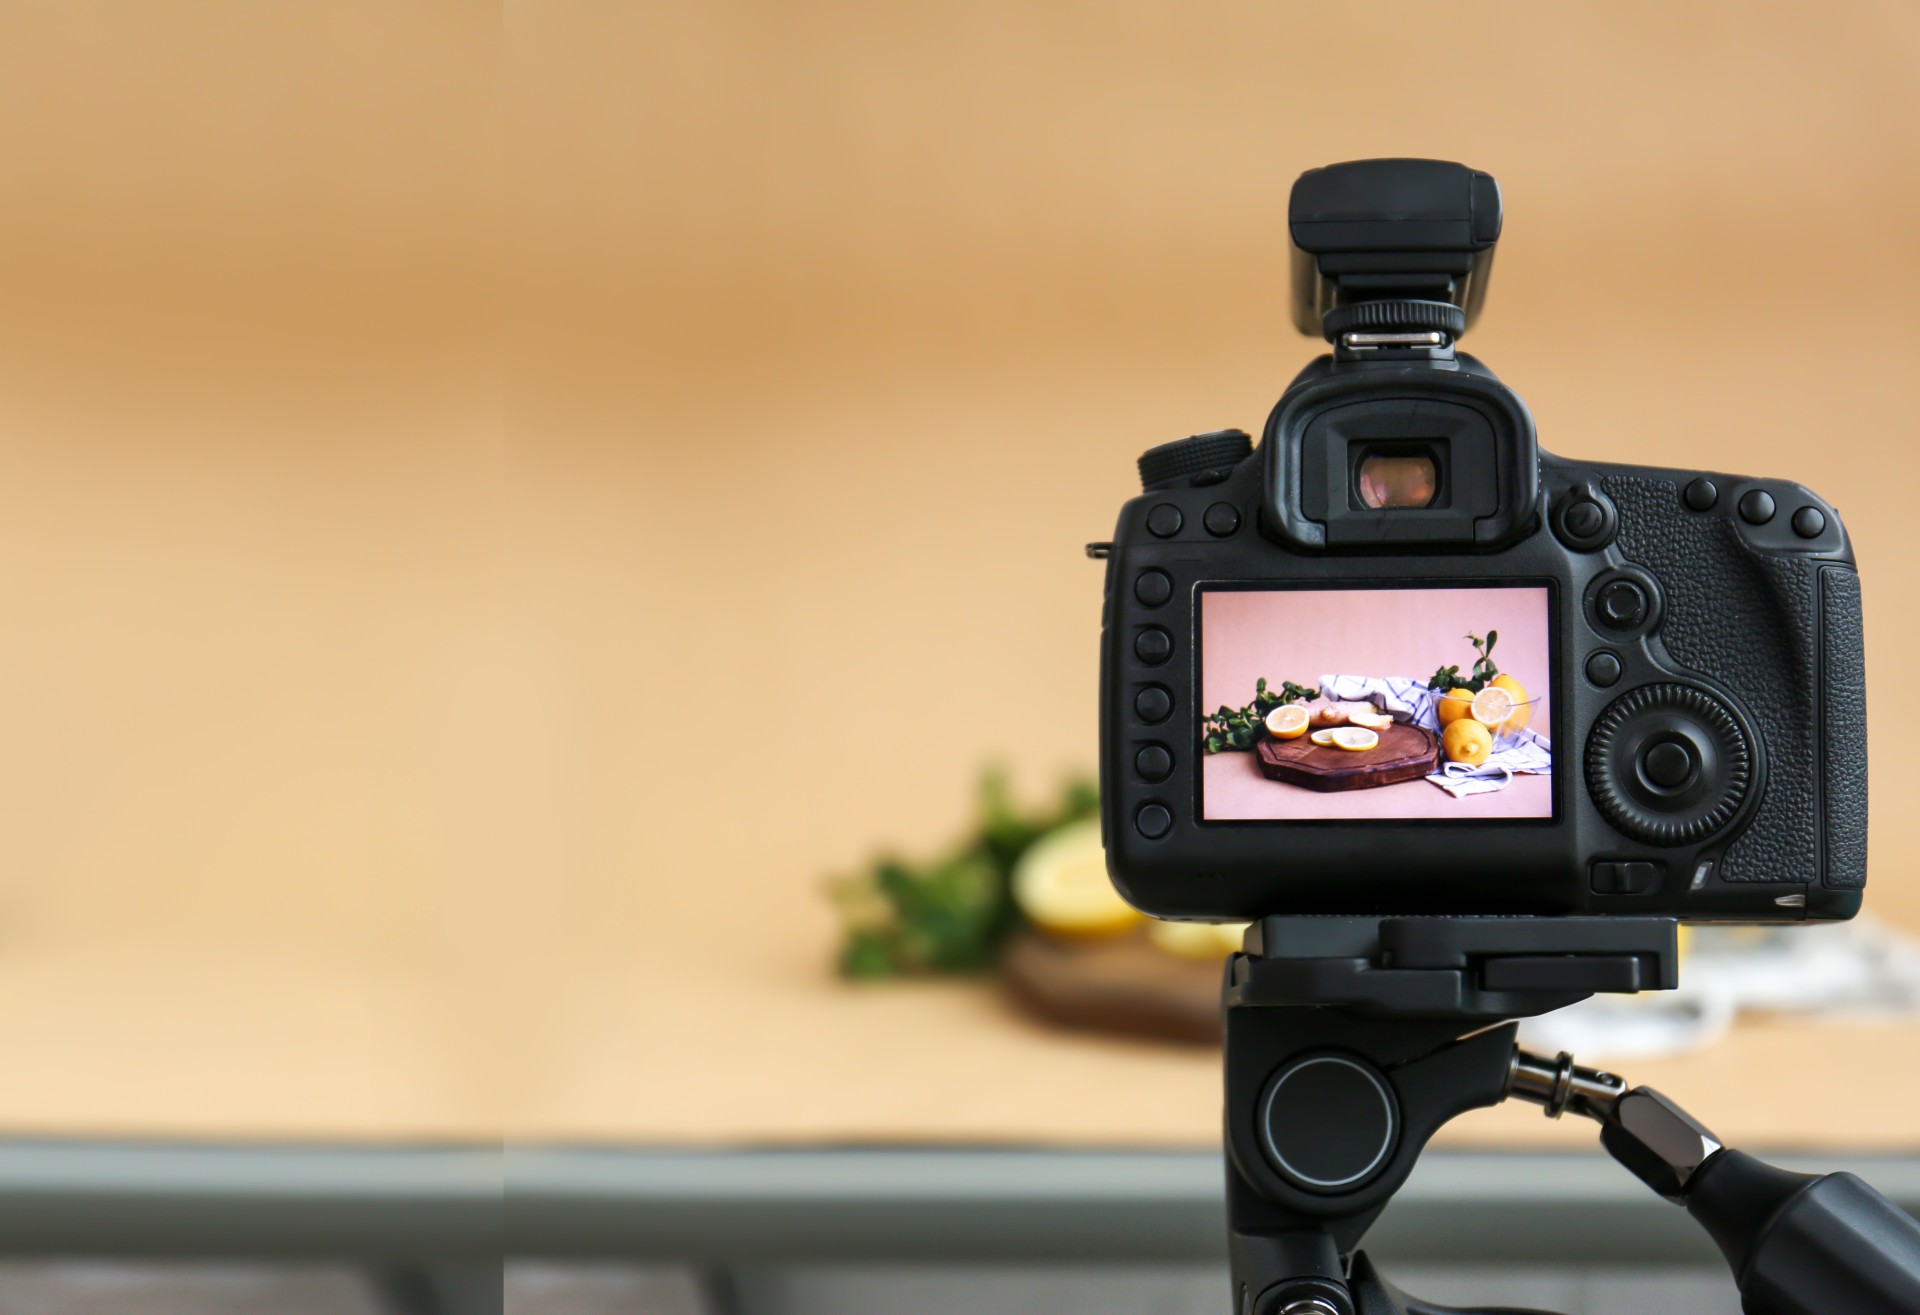
Camera
It really matters that the photographer understands the requirements of the photoshoot. It really depends upon the requirements about the type of camera to be used. Full-frame DSLR cameras are too big to lug around and set up. You can start with whatever you’ve got handy, experiment on a new camera over time until the style speaks for itself without investing in an expensive system right away!
However, if you have decided to invest in basic DSLR cameras, you can start from Nikon D3500 or Fujifilm X-T200. It will help you in grasping the ideas of photography in the beginning.
Tripod
Mounting your camera to a tripod is an essential step in the photography process. Once you have it secured, there are some things that will remain fixed and keep everything else from moving around while capturing images of varying modes like high dynamic range imaging or focus stacking which require several shots taken at different points on whatever subject matter interests you most today.
White Bounce Cards
Window light has a bright side where the sun hits it, and shadows on either side. To make things more interesting for product photography, make use of white bounce cards ( made out of foam boards ) that put an extra bit of illumination into those dark areas so they can be relieved in their product shots. It is an excellent choice because it’s rigid and can also be easily cleaned if needed.
Read More:- FBA Product Photography: How To Make Your Main Listing Image Stand Out
Table
A smooth surface is required for your product to stay stable throughout the photoshoot. Consider getting a table with one that is wide but also long enough. The ideal size would be somewhere between 24 and 27 inches in width so it’s not too small nor too big for your needs!`
Ideal Room
The perfect room for product photography is a window that’s next to a wall. The larger the better as you’ll get more light from strong naturalistic shadows, and being closer will create softer overall tones with darker backgrounds while farther away will result in an even brighter illumination where the shadows are sharper yet lighter in detail.
Capturing Professional Photos On A White Background
When it comes to selling your products, more than 90% of consumers say that visual appearance is an important factor in buying decisions. Let’s into some professional tips you should follow to capture your next masterpiece:
Setting up the Table
Now that you gathered all the required materials, it’s time to shoot! The first thing you need to do is place the table close to the window without intersecting any shadows from these windowsills. Next, make sure that your setup goes right or left of this window at 90 degrees angle, depending on which direction light will be hitting the subject.
With natural light, the best way to get a different mood is by rotating your window. You can try putting it at an angle of 45 degrees or even straight onto the set with no obstruction for that clean and fresh feel!
Read More:- How to Increase Amazon Conversion Rates: 7 Essential Tips for 2022
Adjusting the Camera
Every camera is a little different. For some, the default setting will work just fine, and they don’t need to adjust any settings on their own. However, if you’re looking for more control over what gets captured or want an idea of how your photos are coming out then the following tweaks to your setting might help out:
- Set your white balance (WB) to Automatic. This will allow you more control of colors and lighting for a better end result.
- Turn Off your flash setting. This will stop any potential glare on the camera lens and ensure that you get intense exposure to whatever is in front.
- Raw files are the largest a camera can shoot, and when edited in software such as Photoshop or Aperture will give you maximum image quality. If your point-and-shoot has this setting, use it!
- You can set your ISO to 100 which will result in less noise. The higher the numbers are, the more sensitive they become and thus pick up on any light that might be present
Setting up the Product
There are many little details that can trip you up when setting your product. One of the most important is making sure to center yourself in front of all reflective surfaces, such as bottles with labels on them and mirrors above head height.
This can be difficult because there are often many tiny movements needed for each element, but it will go much smoother if done correctly from day one.
If your product positioning is perfect then you can try using white cards as a light modifier too. You will be blown away by the way this simple white card lights up your product. The light bounces off of it and fills in all shadows, so experiment with different angles for maximum effect.
Read More:- 3D Rendering vs Product Photography & Which One Is A Better Option For Amazon Sellers?
Capturing and Evaluating the Photo
A picture is worth a thousand words, but it’s even more than just that. Once you take the photo and look at what has been created with your camera; this will allow for the experience of both education in which skills can be improved through experimentation on various ways to make an image better over time.
After conducting several trials and errors, you might have finalized some of the photos for your product. For a better idea of how your images look, upload them onto the computer. The back of the camera sometimes misses details that are important for photography and can give unclear pictures, so I suggest using Adobe Lightroom, which provides many editing options to help fix this problem.
Read More:- 8 Mistakes Every Photographer Makes While Clicking Products For Amazon
Conclusion
Taking product photos on a white background can help you create more professional images for your products. Whether it is in an advertisement, website, or social media post, putting the product on a white background will make them stand out and appear clean
If you are looking forward to seeking professional Product photography for amazon, social media, or E-Commerce stores, contact Amz One Step today as they provide one of the most professional services in the marketplace.